WLED Integration
Overview
Dune-Weaver integrates with WLED, an open-source firmware for ESP8266/ESP32-based LED controllers, enabling automation of lighting effects. A separate ESP32 is required to control addressable LEDs.
With WLED integration configured, Dune Weaver provides:
- Loading effect during boot-up
- Green blinking signal indicating successful startup
- Customizable idle lighting effect (using WLED playlist or preset)
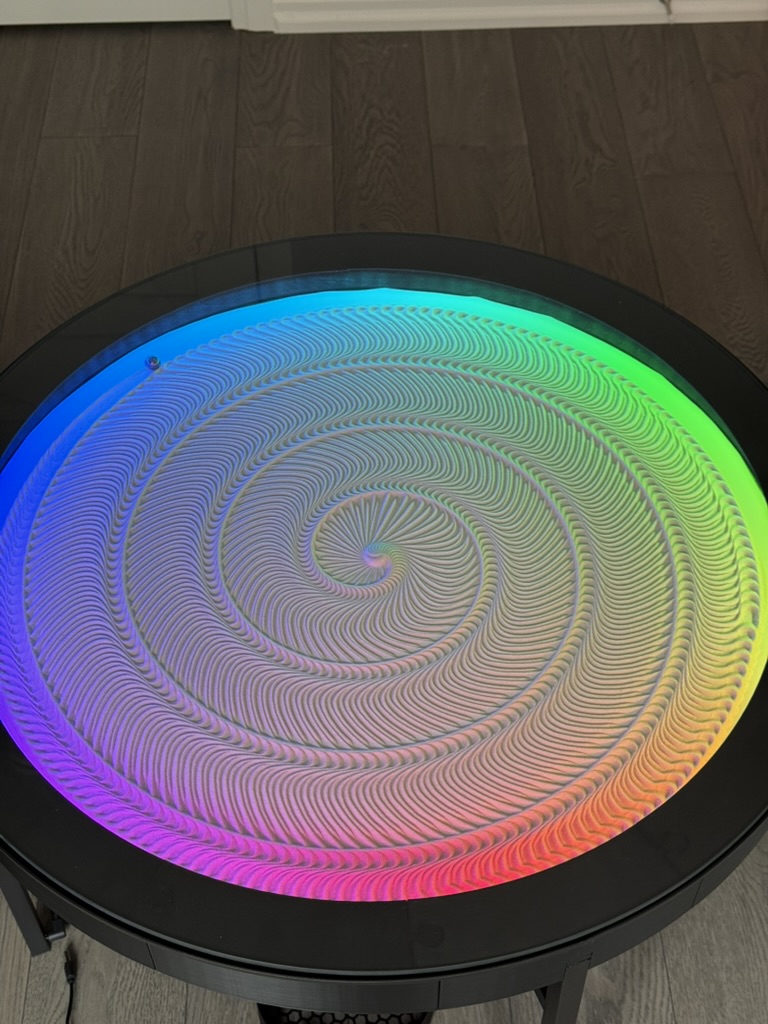
- Customizable playing effect (using WLED playlist or preset)
Installing WLED
- Connect ESP32 board to computer via USB
- Open WLED Web Installer in Google Chrome or Edge
- Click "Install", select your ESP32 device, and follow instructions
Setting up WLED Wi-Fi
- Use WiFi device to connect to access point WLED-AP with password
wled1234 - Click Config (gear) icon and select "Wifi Setup"
- Enter WiFi network name and password
- Optionally change mDNS address for WLED module
- Click "Save & Connect"
- Reconnect device to home WiFi network
- Check router's device list for WLED IP address (or use WLED Native app)
- Configure static IP via router for consistent connectivity after reboots
Wiring
- ESP32 can be powered via USB or 3.3V/5V pins
- For addressable LEDs, verify LED power input requirements (12V or 5V)
- Typically requires separate power supply for LEDs
- Share a ground pin between ESP32 and LED system
Setting up WLED with Dune Weaver
- Navigate to settings and configure WLED IP address
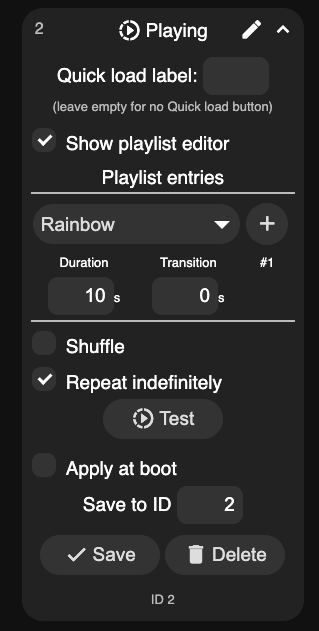
 2. In WLED UI, create two playlists:
- ID 1: Idle effect
- ID 2: Playing effect
 3. Follow ID assignment strictly for code functionality
4. Example idle setup: auto turn-off after 2 minutes
3. Follow ID assignment strictly for code functionality
4. Example idle setup: auto turn-off after 2 minutes
 5. Configure playing effect playlist as desired
- Customize playlists to preference (or use presets for simpler control)
For additional support, join the Discord community.